
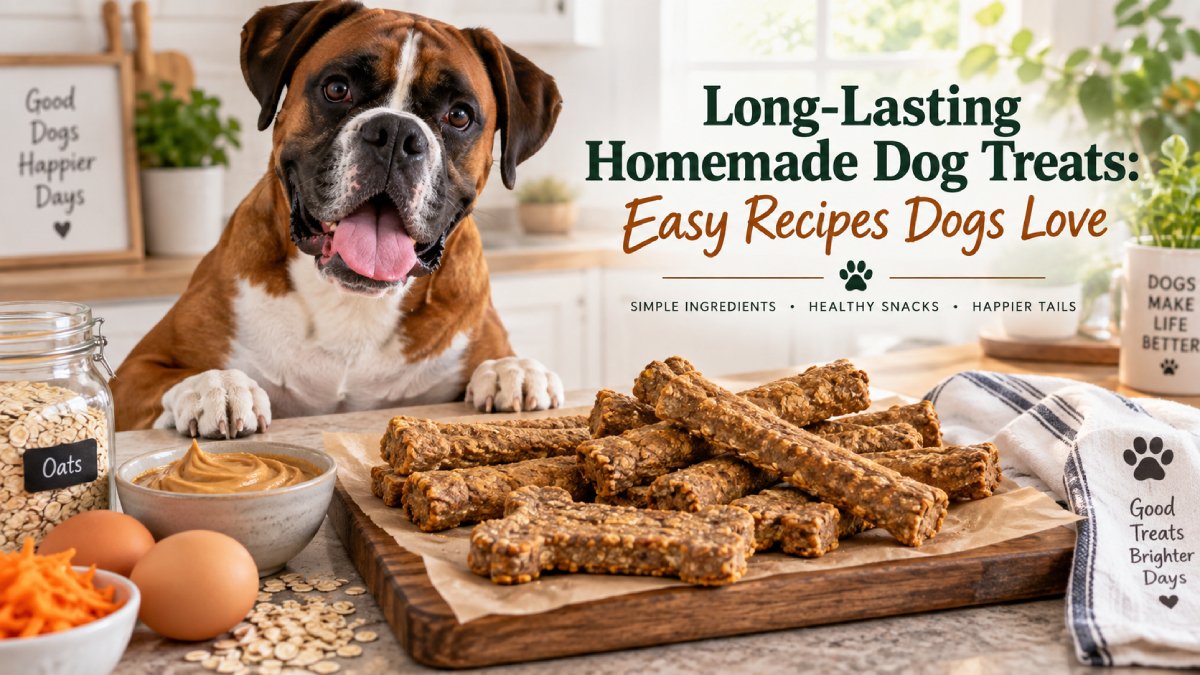
Long-Lasting Homemade Dog Treats: Easy Recipes Dogs Love
What Makes a Homemade Dog Treat Last Longer?
Moisture is the main difference between a soft treat and a long-lasting crunchy biscuit. Ingredients such as pumpkin, banana, applesauce, egg, and meat can make treats appealing, but they also add water. The more moisture that remains after baking, the shorter the safe storage window usually is.
You can extend freshness by rolling dough thinly, baking until the center is dry, allowing treats to cool completely, and storing them in a clean airtight container. For even drier biscuits, use a low oven after the main bake to dehydrate them further.
Recipe 1: Crunchy Peanut Butter Oat Biscuits
Ingredients
- 2 cups oat flour
- 1/2 cup natural xylitol-free peanut butter
- 1 egg
- 1/2 cup water, added gradually
Instructions
- Preheat the oven to 325°F (165°C).
- Mix the peanut butter and egg, then stir in the oat flour.
- Add water a little at a time until a firm dough forms.
- Roll to about 1/8 to 1/4 inch thick and cut into small shapes.
- Bake for 30 to 35 minutes.
- Turn the oven down to 200°F (95°C) and dry the biscuits for another 30 to 60 minutes, checking occasionally.
- Cool fully on a wire rack.
Recipe 2: Sweet Potato Crunch Coins
Ingredients
- 1 large sweet potato
- 1 teaspoon olive oil, optional
Instructions
- Wash and peel the sweet potato if desired.
- Slice it into very thin, even rounds.
- Arrange the slices in a single layer on parchment-lined trays.
- Bake at 250°F (120°C) for about 2 to 3 hours, flipping halfway through.
- Continue drying until the pieces are firm and no longer soft in the center.
- Cool completely before storing.
Because dehydrated vegetables can still retain pockets of moisture, check the finished slices carefully. Thick pieces should be refrigerated or frozen rather than stored for long periods at room temperature.
Recipe 3: Apple Oat Crunch Squares
Ingredients
- 2 cups oat flour
- 1/2 cup unsweetened applesauce
- 1 egg
- 1/2 teaspoon cinnamon, optional
Instructions
- Preheat the oven to 325°F (165°C).
- Combine applesauce and egg, then mix in the oat flour and optional cinnamon.
- Roll the dough thinly and cut into small squares.
- Bake for 30 minutes or until dry around the edges.
- Reduce heat to 200°F (95°C) and dry for another 30 to 45 minutes.
- Leave the treats on a cooling rack until completely cold.
Recipe 4: Savory Chicken Oat Crackers
Ingredients
- 1 cup finely shredded cooked chicken
- 2 cups oat flour
- 1 egg
- 1/3 to 1/2 cup water as needed
Blend the chicken with the egg and part of the water until fairly smooth. Mix with the oat flour to create a firm dough, roll thin, cut into tiny crackers, and bake at 325°F (165°C) until dry. Because meat-based treats can spoil more easily than plain biscuits, store these in the refrigerator or freezer even if they feel crisp.
How to Dry Dog Biscuits Properly
After the normal baking time, lower the oven temperature instead of simply baking hotter. High heat can brown the outside while leaving the center moist. A low-temperature drying stage allows more water to evaporate gradually. You can also switch the oven off and leave the treats inside as the oven cools, with the door slightly open.
Make sure treats are fully cool before they go into a container. Warm biscuits release steam, and trapped steam creates moisture inside the container—the opposite of what you want for long storage.
Best Storage Method
Store completely dry, meat-free biscuits in a clean airtight container in a cool, dry place for a short period, checking them frequently. For homemade treats containing meat, cheese, or a high-moisture ingredient, refrigeration is the safer choice. When in doubt, refrigerate.
Freezing is the easiest way to make a batch last. Portion the biscuits into small freezer bags so you can take out a week’s worth at a time. Most thin biscuits thaw quickly, and many dogs do not mind eating a cold crunchy treat.
Signs a Homemade Treat Should Be Thrown Away
Discard treats if you notice mold, moisture inside the container, an unusual sour or rancid smell, a sticky surface, unexpected softness, or any other change that makes you unsure. Homemade food is inexpensive to replace compared with the risk of feeding spoiled food.
How to Make Treats Last Longer Without Additives
- Make smaller biscuits so they dry all the way through.
- Roll dough evenly so every treat bakes at the same rate.
- Use a cooling rack to release heat and moisture from all sides.
- Do not pack treats while warm.
- Freeze extra batches instead of trying to keep them at room temperature for weeks.
- Use clean, dry containers.
Frequently Asked Questions
How long do homemade dog treats last?
It depends on ingredients, moisture, and storage. Soft treats may last only several days refrigerated, while thoroughly dried biscuits can last longer. Freezing is the most dependable option for extended storage.
Can I add a preservative?
For home baking, it is simpler and safer to rely on small batches, refrigeration, and freezing rather than trying to formulate preservative levels yourself.
Why did my crunchy treats become soft?
They may have absorbed moisture from the air or had moisture trapped inside the container. Re-drying can sometimes restore texture if the treats are still fresh, but discard them if there is any concern about spoilage.
Using a Dehydrator
A food dehydrator can be useful after baking because it removes moisture at a steady low temperature. Bake the biscuits first so their structure is set, then transfer fully or partly baked pieces to the dehydrator and dry until the centers are no longer soft. Drying time depends on thickness, ingredient moisture, and the machine.
Even dehydrated treats should not automatically be considered shelf-stable. If a recipe contains meat, dairy, or significant moisture, refrigeration or freezing is still the safer storage method.
Packaging Treats for Gifts
If you want to give homemade treats to a friend’s dog, include the full ingredient list and the date they were made. Do not give treats to a dog with unknown allergies or medical restrictions. A decorative bag looks nice, but the safest packaging is one that also tells the owner how the treats should be stored.
For gift batches, choose a simple dry biscuit recipe rather than meat-based treats, and recommend refrigeration if there is any doubt about moisture.
Why Homemade Treats Cannot Have a Guaranteed Shelf Life
Home kitchens vary in humidity, oven calibration, treat thickness, cooling time, and storage containers. Those differences can change how quickly a biscuit absorbs moisture or spoils. That is why it is better to use visual and smell checks plus conservative storage rather than promising that every homemade biscuit will last a fixed number of weeks.
Smaller batches are usually the smartest choice. You get fresher treats, easier quality control, and less waste if a batch softens before your dog finishes it.
Final Thoughts
The best long-lasting homemade dog treats are thin, dry, simple, and stored carefully. A low-temperature drying step can make a noticeable difference, but freezing remains the easiest solution when you want to prepare a large batch. Keep portions small, use dog-safe ingredients, and remember that even homemade biscuits should remain a modest part of your dog’s overall diet.